Monday, May 21, 2012

'Geek Girls Of Etsy' Spotlight on: RedLotusDesignz

Today's feature is on a shop I have long admired: RedLotusDesignz
Diana's shop is heavily influenced by anime(yay!)--here is a little of what her shop bio says:


My name is Diana Chin and thanks for stopping by my Etsy page.

On my website at RedLotusDesignz.com, my husband and I would design layouts for web sites (specifically non-profit and small businesses) using a combination of CSS, HTML and JavaScript for interactivity. We also do consulting for small businesses, non-profit and aspiring entrepreneurs. 

On my Etsy store (http://redlotusdesignz.etsy.com), I create handmade anime & manga jewelry. Whether if it is Sailor Moon, Bleach, Fairy Tail, or Naruto, we got your poison :D

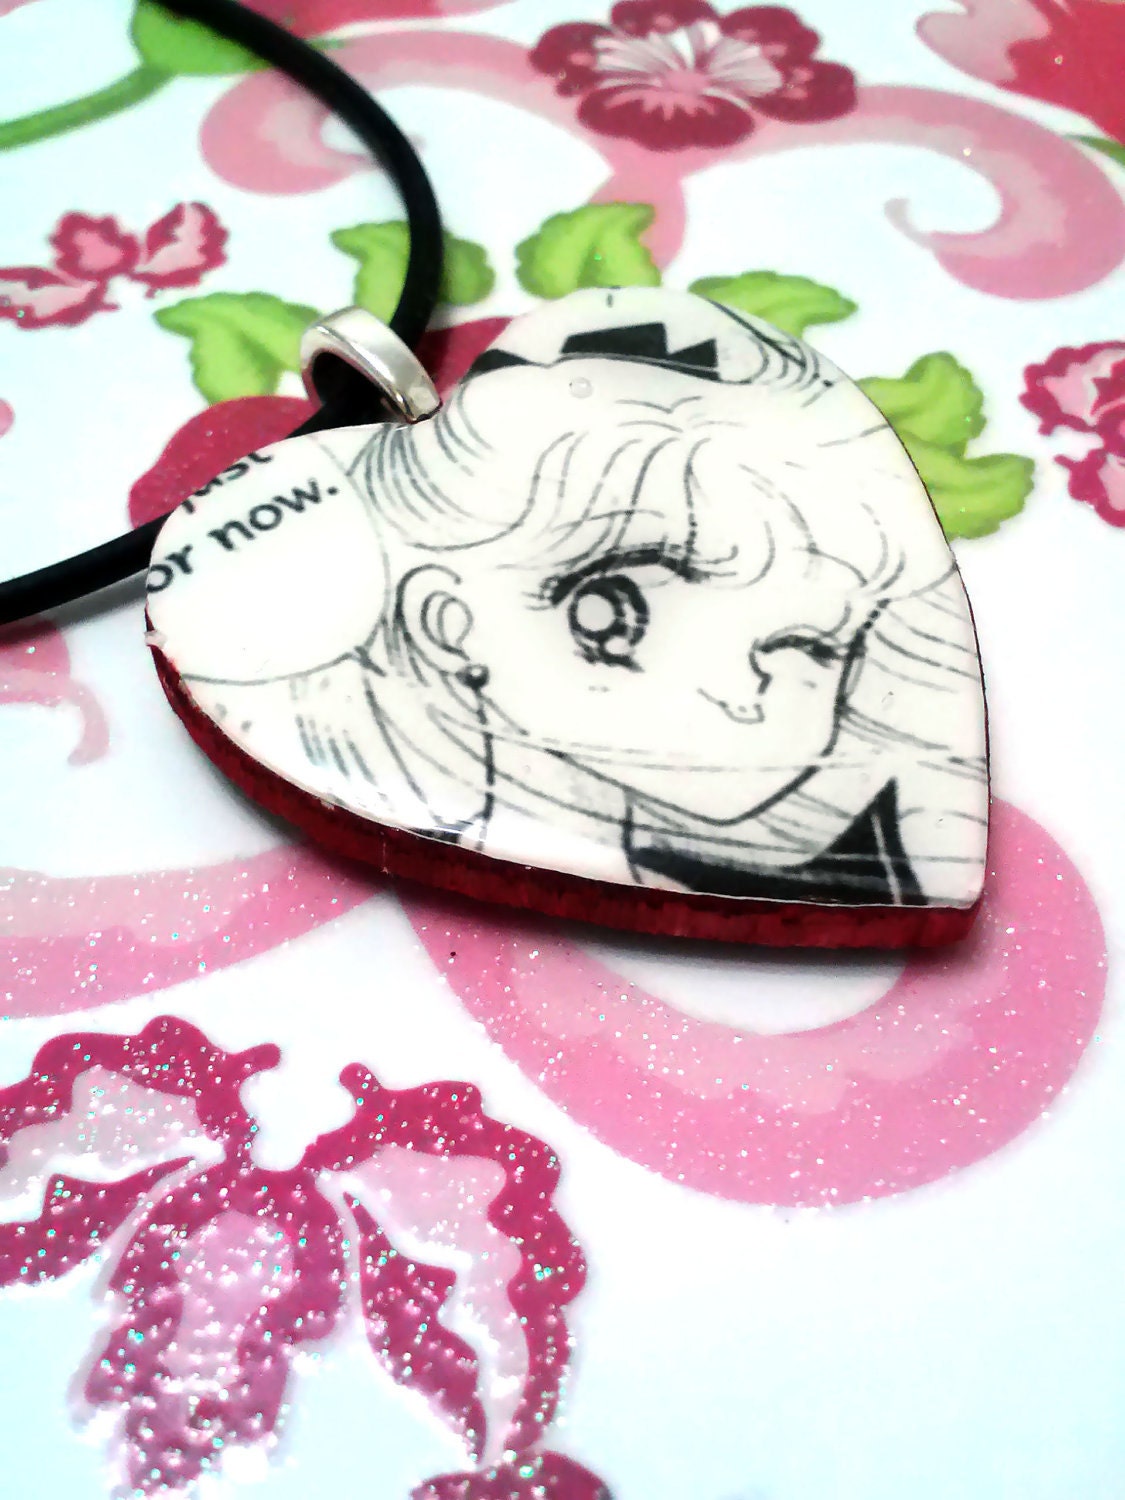
And she certainly caught my attention when I saw her lovely 'Sailor Moon' pendants!
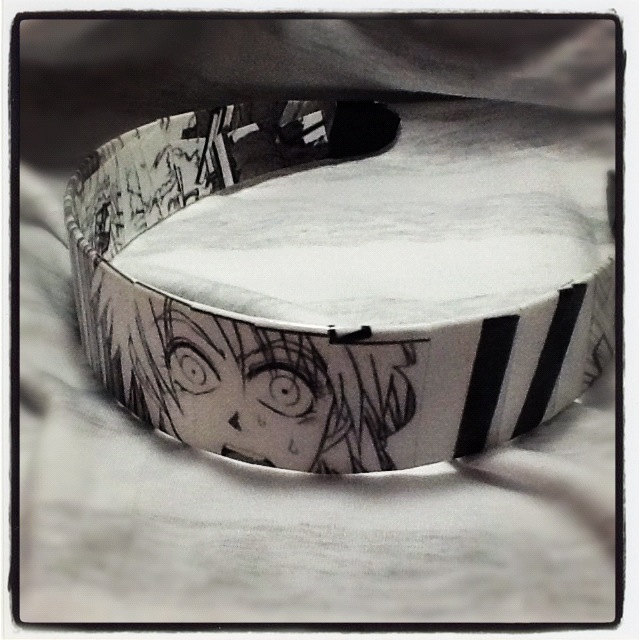


'Hellsing' headband

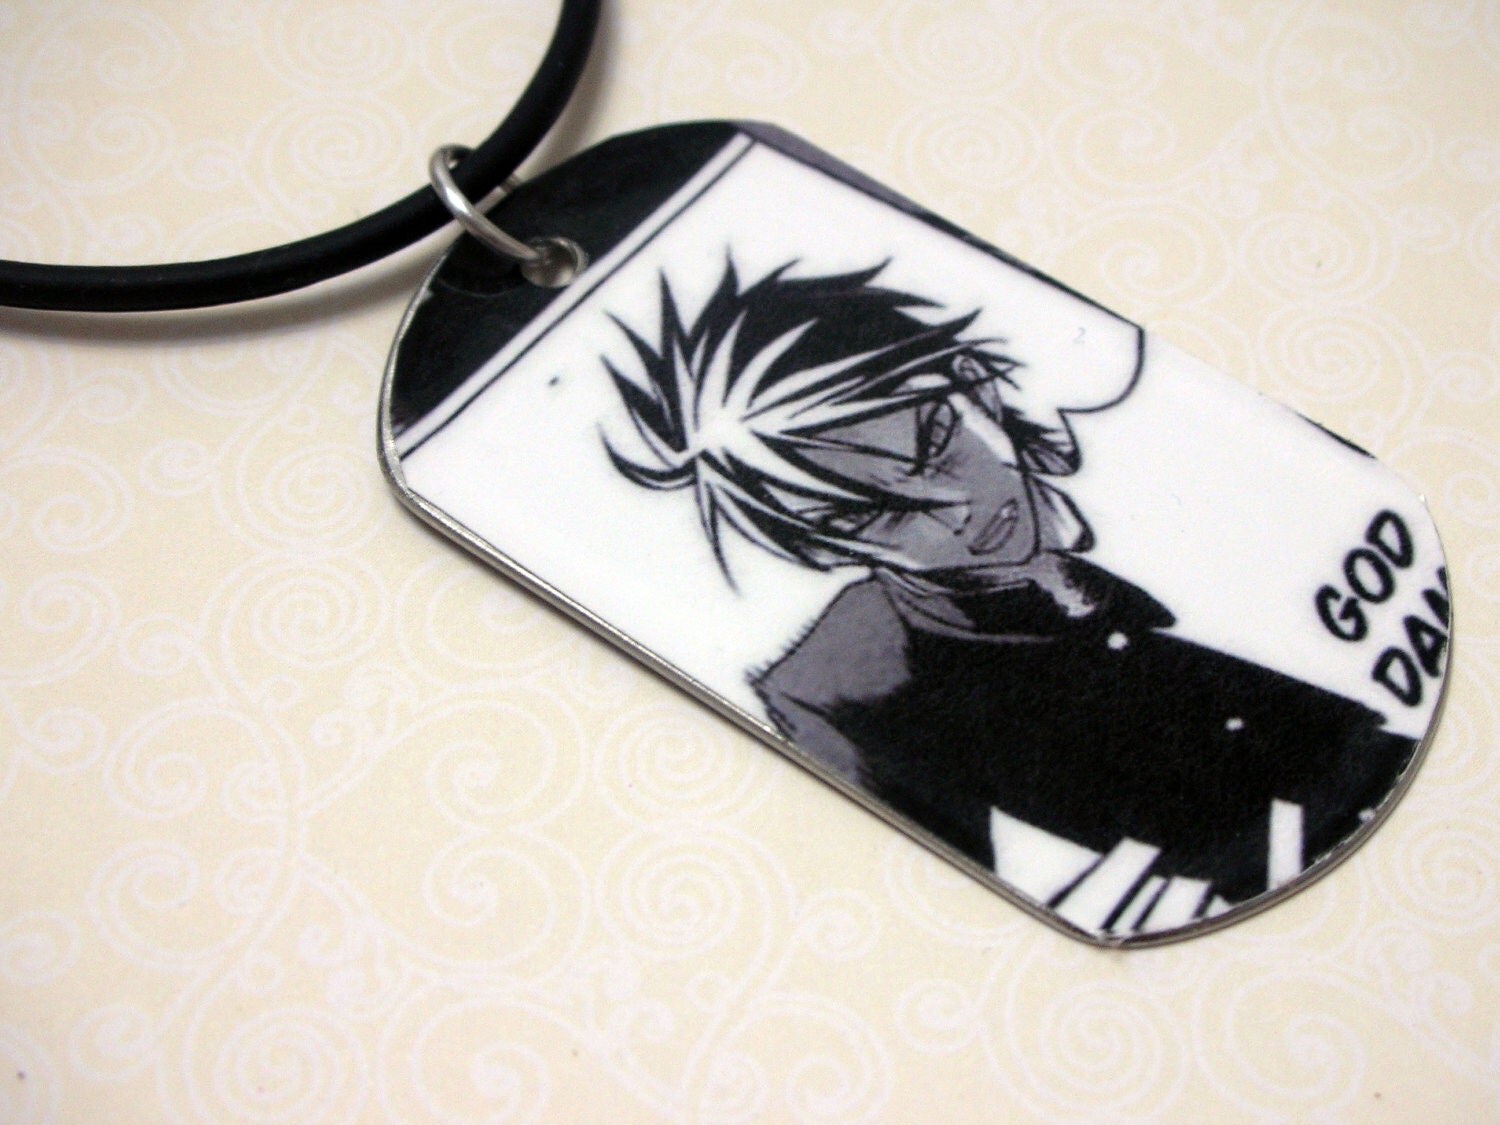
'High School of the Dead' dog tag necklace

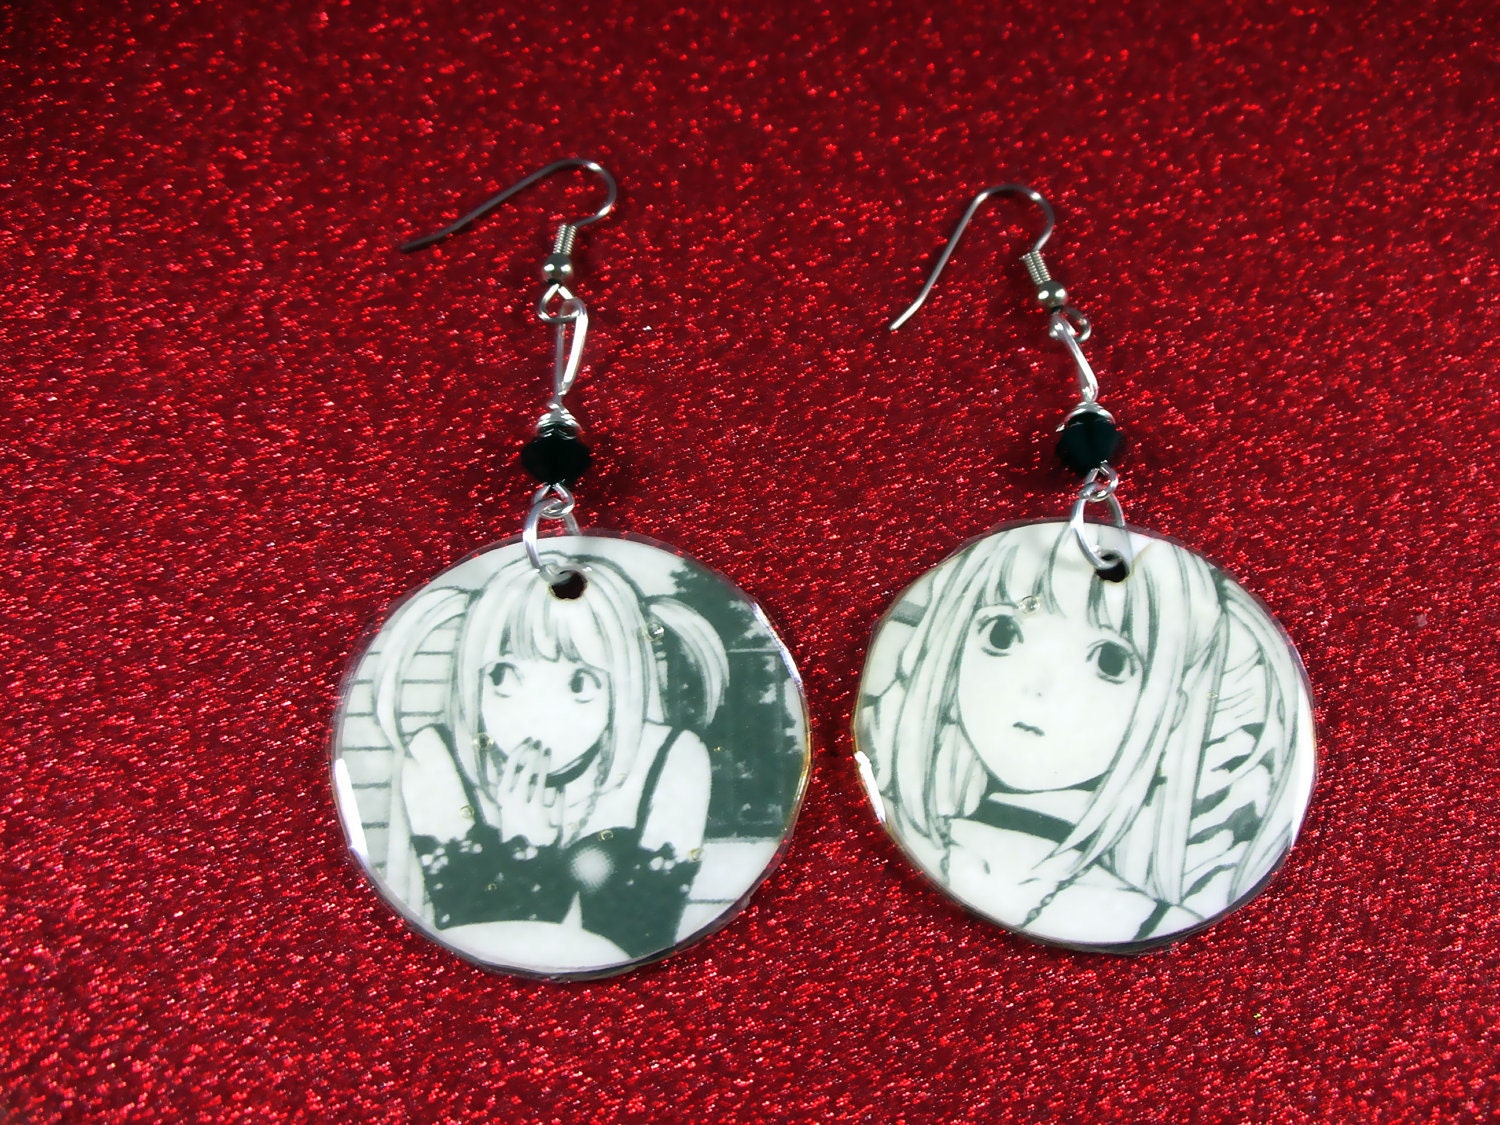
These 'Death Note' earring are both awesome...
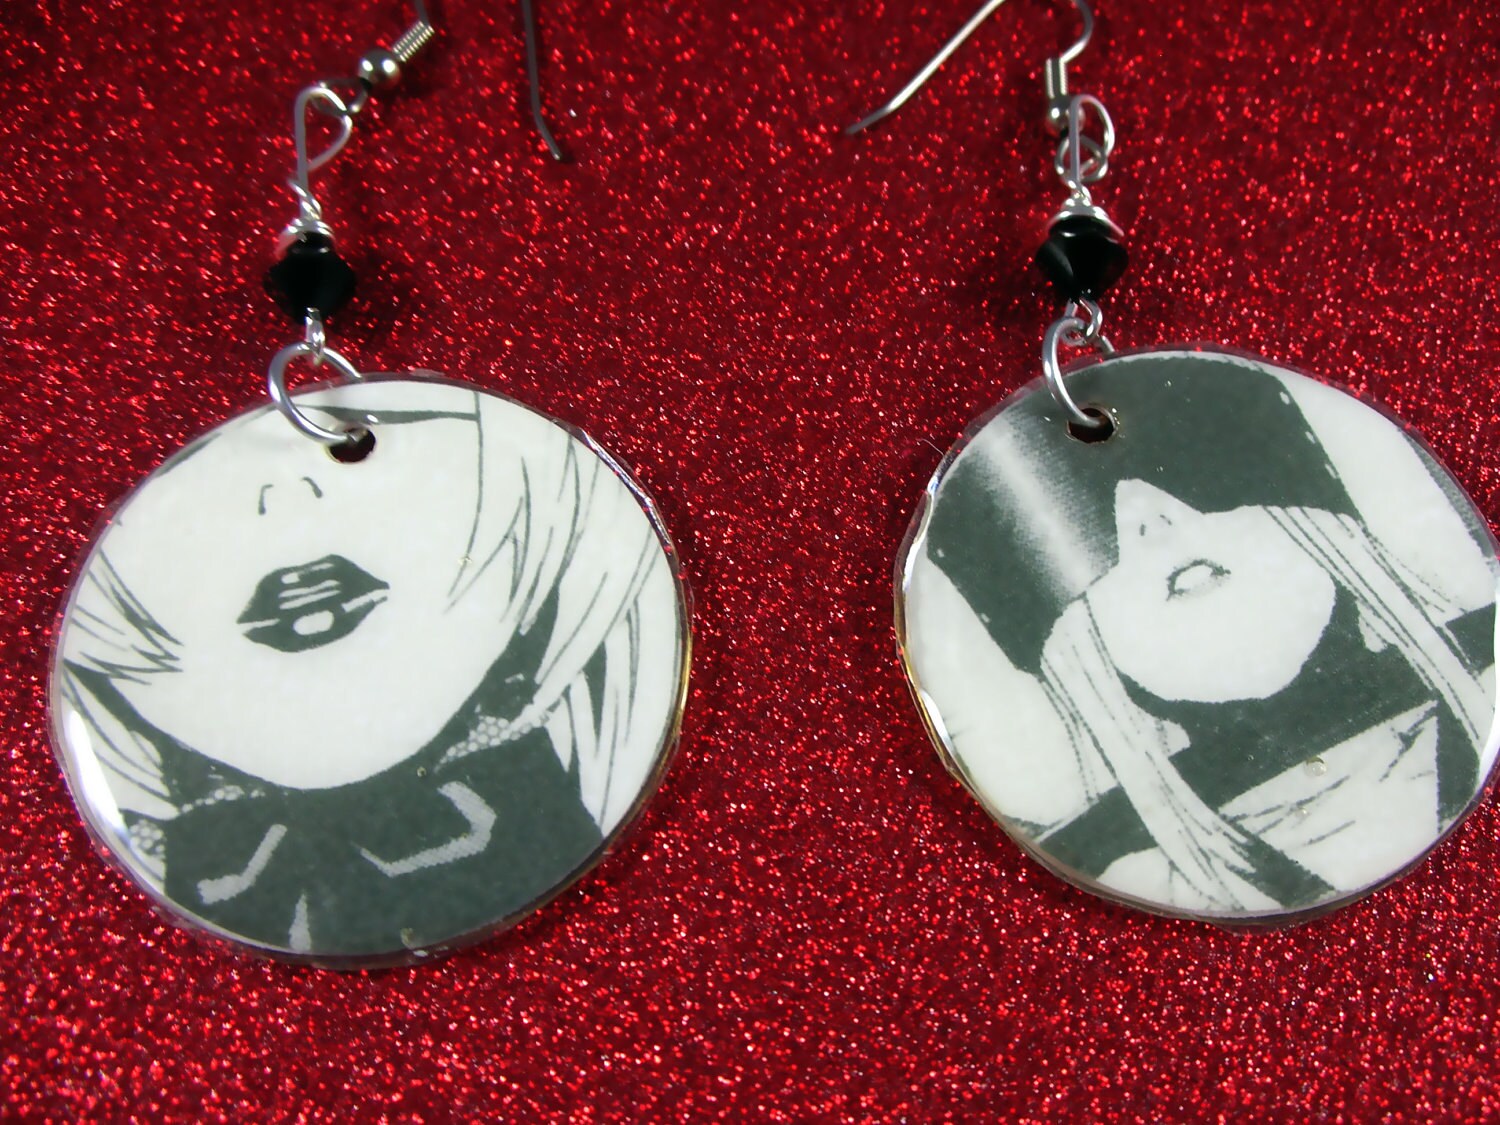
and double-sided!

:


here are a  few links where you can find Diana's work:
her main site- be sure to check out her cute web comic 'The Moo Times of Betsy' while you are there!
http://www.redlotusdesignz.com

FB fan page:
http://www.facebook.com/ArtworkbyRedLotusDesignz

Twitter:
http://www.twitter.com/redlotusdesignz

Tumblr:
http://redlotusdesignz.tumblr.com

Wordpress:
http://redlotusdesignz.wordpress.com

Pinterest:
http://pinterest.com/redlotusdesignz

Sunday, May 20, 2012

Another version of the fabric pendant...

I almost forgot to post this pendant. It's a bit different in that after I first coated and dried the fabric with Modge Podge,I then put a self adhering resin cap on it. Once it set,I trimmed the excess fabric,set a layer of MP in the base of my bezel tray popped the cabochon in and let it dry. A few less steps than the glass tile pendant,and just as pretty!


Fabric pendant tutorial

I was inspired by the new 'Modge
Podge Rocks' book that just came out,and I wanted to try a project using Fabric Modge Podge. This pendant tutorial is the result.
First,take your fabric choice and coat with Fabric Modge Podge. This prevents the fabric from fraying when you cut it. I do this step on wax paper since it won't stick to it while drying.

Next,I sprinkled a neon glitter to give my 70's styled fabric an 80's styled. Everything is better with glitter,I say,lol.

I used a uv lamp for drying the fabric between steps. Normally I use this for curing uv resin,but I find it comes in handy for drying lots of different jewelry projects. They sell specially made one for resin,but I find the ones from beauty supply stores work just as well. The one I use I purchased off of Ebay,and it uses two 7 watt uv bulbs.


Position your glass tile where you want to place it on the fabric. Next use a generous portion of Modge Podge( I used Matte formula) and place it on the fabric. It will be really cloudy,but it will clear as it dries. Keep q-tips handy;they are great for wiping excess glue from the sides of the tiles when you press down onto the fabric.


Dry again,and then trim excess fabric. The Modge Podge does a great job keeping the fabric from fraying. Here I switched back to the fabric formula MP, and attatched a second piece of fabric to the back. Dry again.  Trim excess.
I used Satin Hard Coat Modge Podge for my final coat to give it some water resistance. I used two coats.
Attach bails using a really strong glue ( I like Liquid Fusion and Gorilla Glue)


Voila,super easy fabric pendants! I really had a lot of fun with these. Now I am going to have to scout around Etsy looking for super cute fabrics so I can make more!
This is my first tutorial,hope you enjoyed. Feel free to email me any questions,or show me what you make!